 One of the great benefits of a community of heat treaters is the opportunity to challenge old habits and look at new ways of doing things. Heat Treat Today’s 101 Heat Treat Tips is another opportunity to learn the tips, tricks, and hacks from some of the industry’s foremost experts.
Heat Treat Today’s latest round of 101 Heat Treat Tips is featured in Heat Treat Today fall issue (also featuring the popular 40 Under 40).
Today’s selection includes tips from ECM USA, Carrasco Hornos, and Quaker Houghton. Each of them has provided quick steps or comments on a variety of topics ranging from furnace brazing to furnace expenses to quench performance or maintenance.
Heat Treat Tip #1
How to Achieve a Good Braze
In vacuum brazing, be certain the faying surfaces are clean, close and parallel. This ensures the capillary action needed for a good braze.

(Source: Ichudov at Wikipedia Commons)
A good brazing filler metal should:
1. Be able to wet and make a strong bond on the base metal on which it’s to be applied.
2. Have suitable melt and flow capabilities to permit the necessary capillary action.
3. Have a well-blended stable chemistry, with minimal separation in the liquid state.
4. Produce a good braze joint to meet the strength and corrosion requirements.
5. Depending on the requirements, be able to produce or avoid base metal filler metal interactions.
(ECM USA)
Heat Treat Tip #2
How Much Lost Money Flows Through the Walls of Your Furnace
In a strict sense, heat flows through the insulating lining of your furnace wall: the lower the outside temperature in the furnace shell, the less heat is lost and, consequently, less money.
For example, an outside temperature on the oven shell of 160°F (71°C) equals a heat loss of approximately 190 BTU/hr ft2, just multiply this number by the square footage of the entire outside surface of the oven. A well-designed and well-maintained insulation can reduce the outside temperature of the shell, say 120°F (49°C), and heat losses would be close to 100 BTU/hr ft2, that’s 90% more heat lost and therefore fuel.
So, my Tip for today is: “Let’s go for the basics that don’t change, and it will always give good results.” By the way, how many furnaces are there in your plant and how many square feet do their surfaces add up to?
(Carrasco Hornos)
Heat Treat Tip #4
Check Your Quench Oil
Safety – Performance – Oxidation
Safety
- Water content should not exceed a maximum of 0.1% in the quench oil.
- Flash point should be checked to ensure no extraneous contamination of a low flash point material (i.e. kerosene) has been introduced into the quench tank.
Performance
- Cooling curve analysis or GM Quenchometer Speed should be checked to confirm the quench oil is maintaining its heat extraction capabilities. Variances in heat extraction capabilities could possibly lead to insufficient metallurgical properties.
Oxidation
- TAN (total acid number) and Precipitation Number should be checked to ensure the quench oil is thermally and oxidatively stable. Oxidation of the quench oil can lead to staining of parts and possible changes in the heat extraction capabilities.
- Sludge content should be checked… filter, filter, filter… sludge at the bottom of the quench tank can act a precursors for premature oxidation of the quench oil.
Work with your quench oil supplier on a proactive maintenance program… keep it cool… keep it clean… keep it free of contamination to extend the life of your quench oil.
(Quaker Houghton)
Heat Treat Tip #28
Aqueous Quenchant Selection Tips

(Source: Quaker Houghton)
- Determine your quench: Induction or Immersion? Different aqueous quenchants will provide either faster or slower cooling depending upon induction or immersion quenching applications. It is important to select the proper quenchant to meet required metallurgical properties for the application.
- Part material: Chemistry and hardenability are important for the critical cooling rate for the application.
- Part material: Minimum and maximum section thickness is required to select the proper aqueous quenchant and concentration.
- Select the correct aqueous quenchant for the application as there are different chemistries. Choosing the correct aqueous quenchant will provide the required metallurgical properties.
- Review selected aqueous quenchant for physical characteristics and cooling curve data at respective concentrations.
- Filtration is important for aqueous quenchants to keep the solution as clean as possible.
- Check concentration of aqueous quenchant via kinematic viscosity, refractometer, or Greenlight Unit. [See image: Hougton Intn’l Greenlight Unit and/or Houghton Int’l GL Display B] Concentration should be monitored on a regular basis to ensure the quenchant’s heat extraction capabilities.
- Check for contamination (hydraulic oil, etc) which can have an adverse effect on the products cooling curves and possibly affect metallurgical properties.
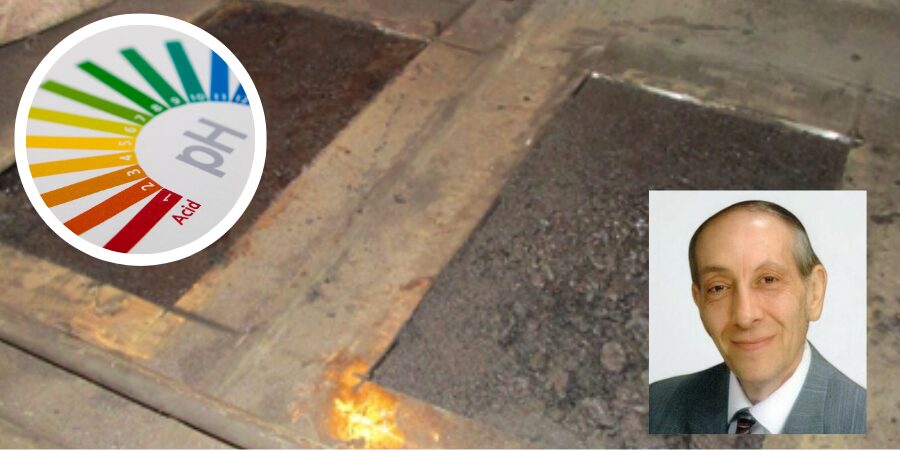
- Check pH to ensure proper corrosion protection on parts and equipment.
- Check microbiologicals which can foul the aqueous quenchant causing unpleasant odors in the quench tank and working environment. If necessary utilize a biostable aqueous quenchant.
- Implement a proactive maintenance program from your supplier.
(Quaker Houghton)