One of the great benefits of a community of heat treaters is  the opportunity to challenge old habits and look at new ways of doing things. Heat Treat Today’s 101 Heat Treat Tips is another opportunity to learn the tips, tricks, and hacks shared by some of the industry’s foremost experts.
For Heat Treat Today’s latest round of 101 Heat Treat Tips, click here for the digital edition of the 2019 Heat Treat Today fall issue (also featuring the popular 40 Under 40).
Today’s tips come to us from Rob Medeira and Florie Grant of Inductoheat, covering Induction Heating. This includes advice about correcting irregular part distortion and finding solutions to cracked parts.
If you have a heat treat-related tip that would benefit your industry colleagues, you can submit your tip(s) to anastasia@heattreattoday.com or editor@heattreattoday.com.
Heat Treat Tip #13
Correcting Irregular Part Distortion

Situation: Part is distorting irregularly after induction heat processing
Solution:
1. Check quench concentration, flow, & pressure.
2. Make sure there is proper quench uniformity.
3. Check TIR of the spindles and part holding fixtures
4. Check to ensure the part dimensions are accurate & center drills are on center.
5. Check part nest clearance when the part is cold.
6. Check to make sure the heating time is not too long.
HINTS:
· Check the part holding fixtures and spindles to ensure proper positioning.
· Some processes use a negative quench delay, quench on before heating stops, typically 0.05-0.3 seconds to improve TIR of the part.
· The part nest should not fit snug when the part is col – it will grow during the heating & warp the part.
· If the spline area has distortion or the “Go” gage is tight, try a quench delay of 0.2 to 0.4 seconds.
Heat Treat Tip #14
Cracked Parts?
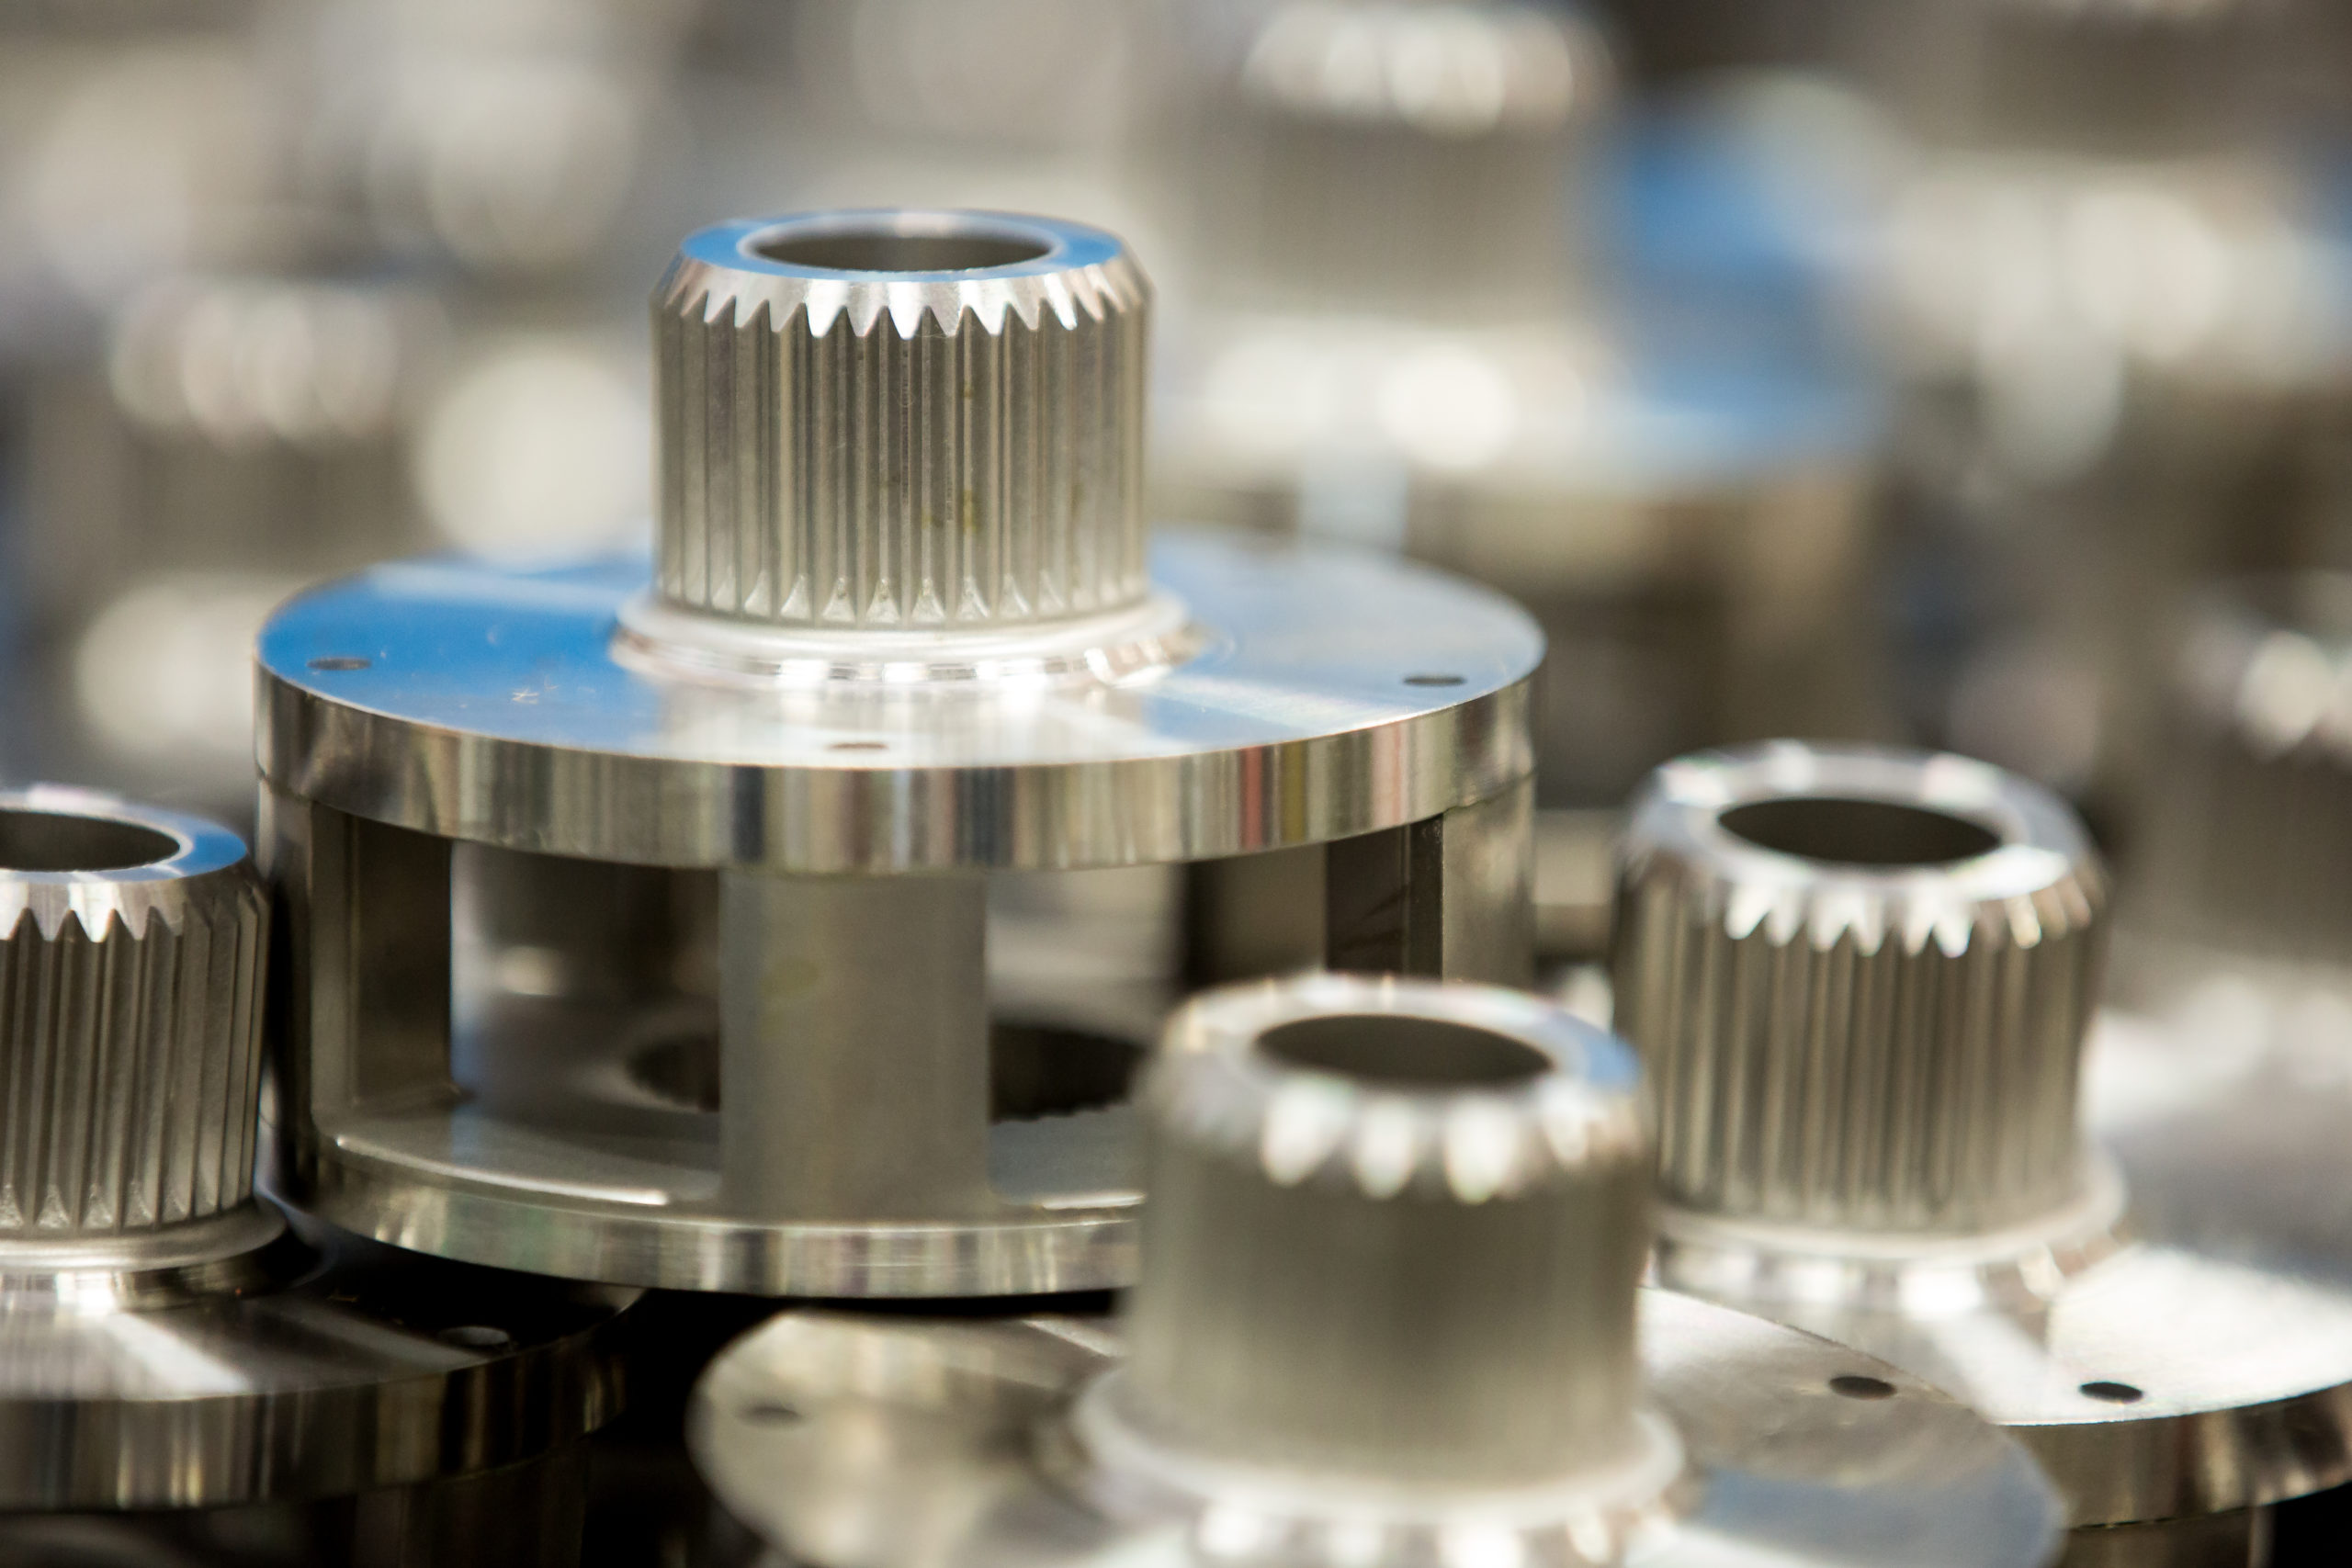
Situation : Cracked Parts
Solution:
1. Check parts positioning.
2. Make sure there are no unexpected hot spots; lack of rotation may be the cause.
3. Check for excessive grain growth around the crack surface area.
4. Check if quench condition is out of spec.
5. Check surface finish of part prior to hardening.
6. Apply temper ASAP.
7. Confirm & inspect steel conditions.
HINTS:
· If the part has excessive grain growth, that may lead to cracking.
· If cracking appears around hole area, then the proper chamfering might help.
· Parts out of higher carbon steels (0.55%C or higher) use higher quenching concentration & avoid surface overheating.