One of the great benefits of a community of heat treaters is  the opportunity to challenge old habits and look at new ways of doing things. Heat Treat Today’s 101 Heat Treat Tips is another opportunity to learn the tips, tricks, and hacks shared by some of the industry’s foremost experts.
For Heat Treat Today’s latest round of 101 Heat Treat Tips, click here for the digital edition of the 2019 Heat Treat Today fall issue (also featuring the popular 40 Under 40).
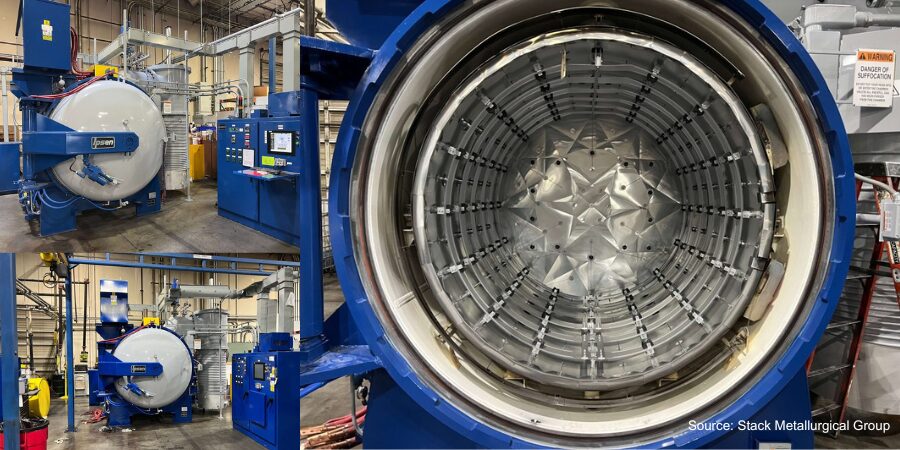
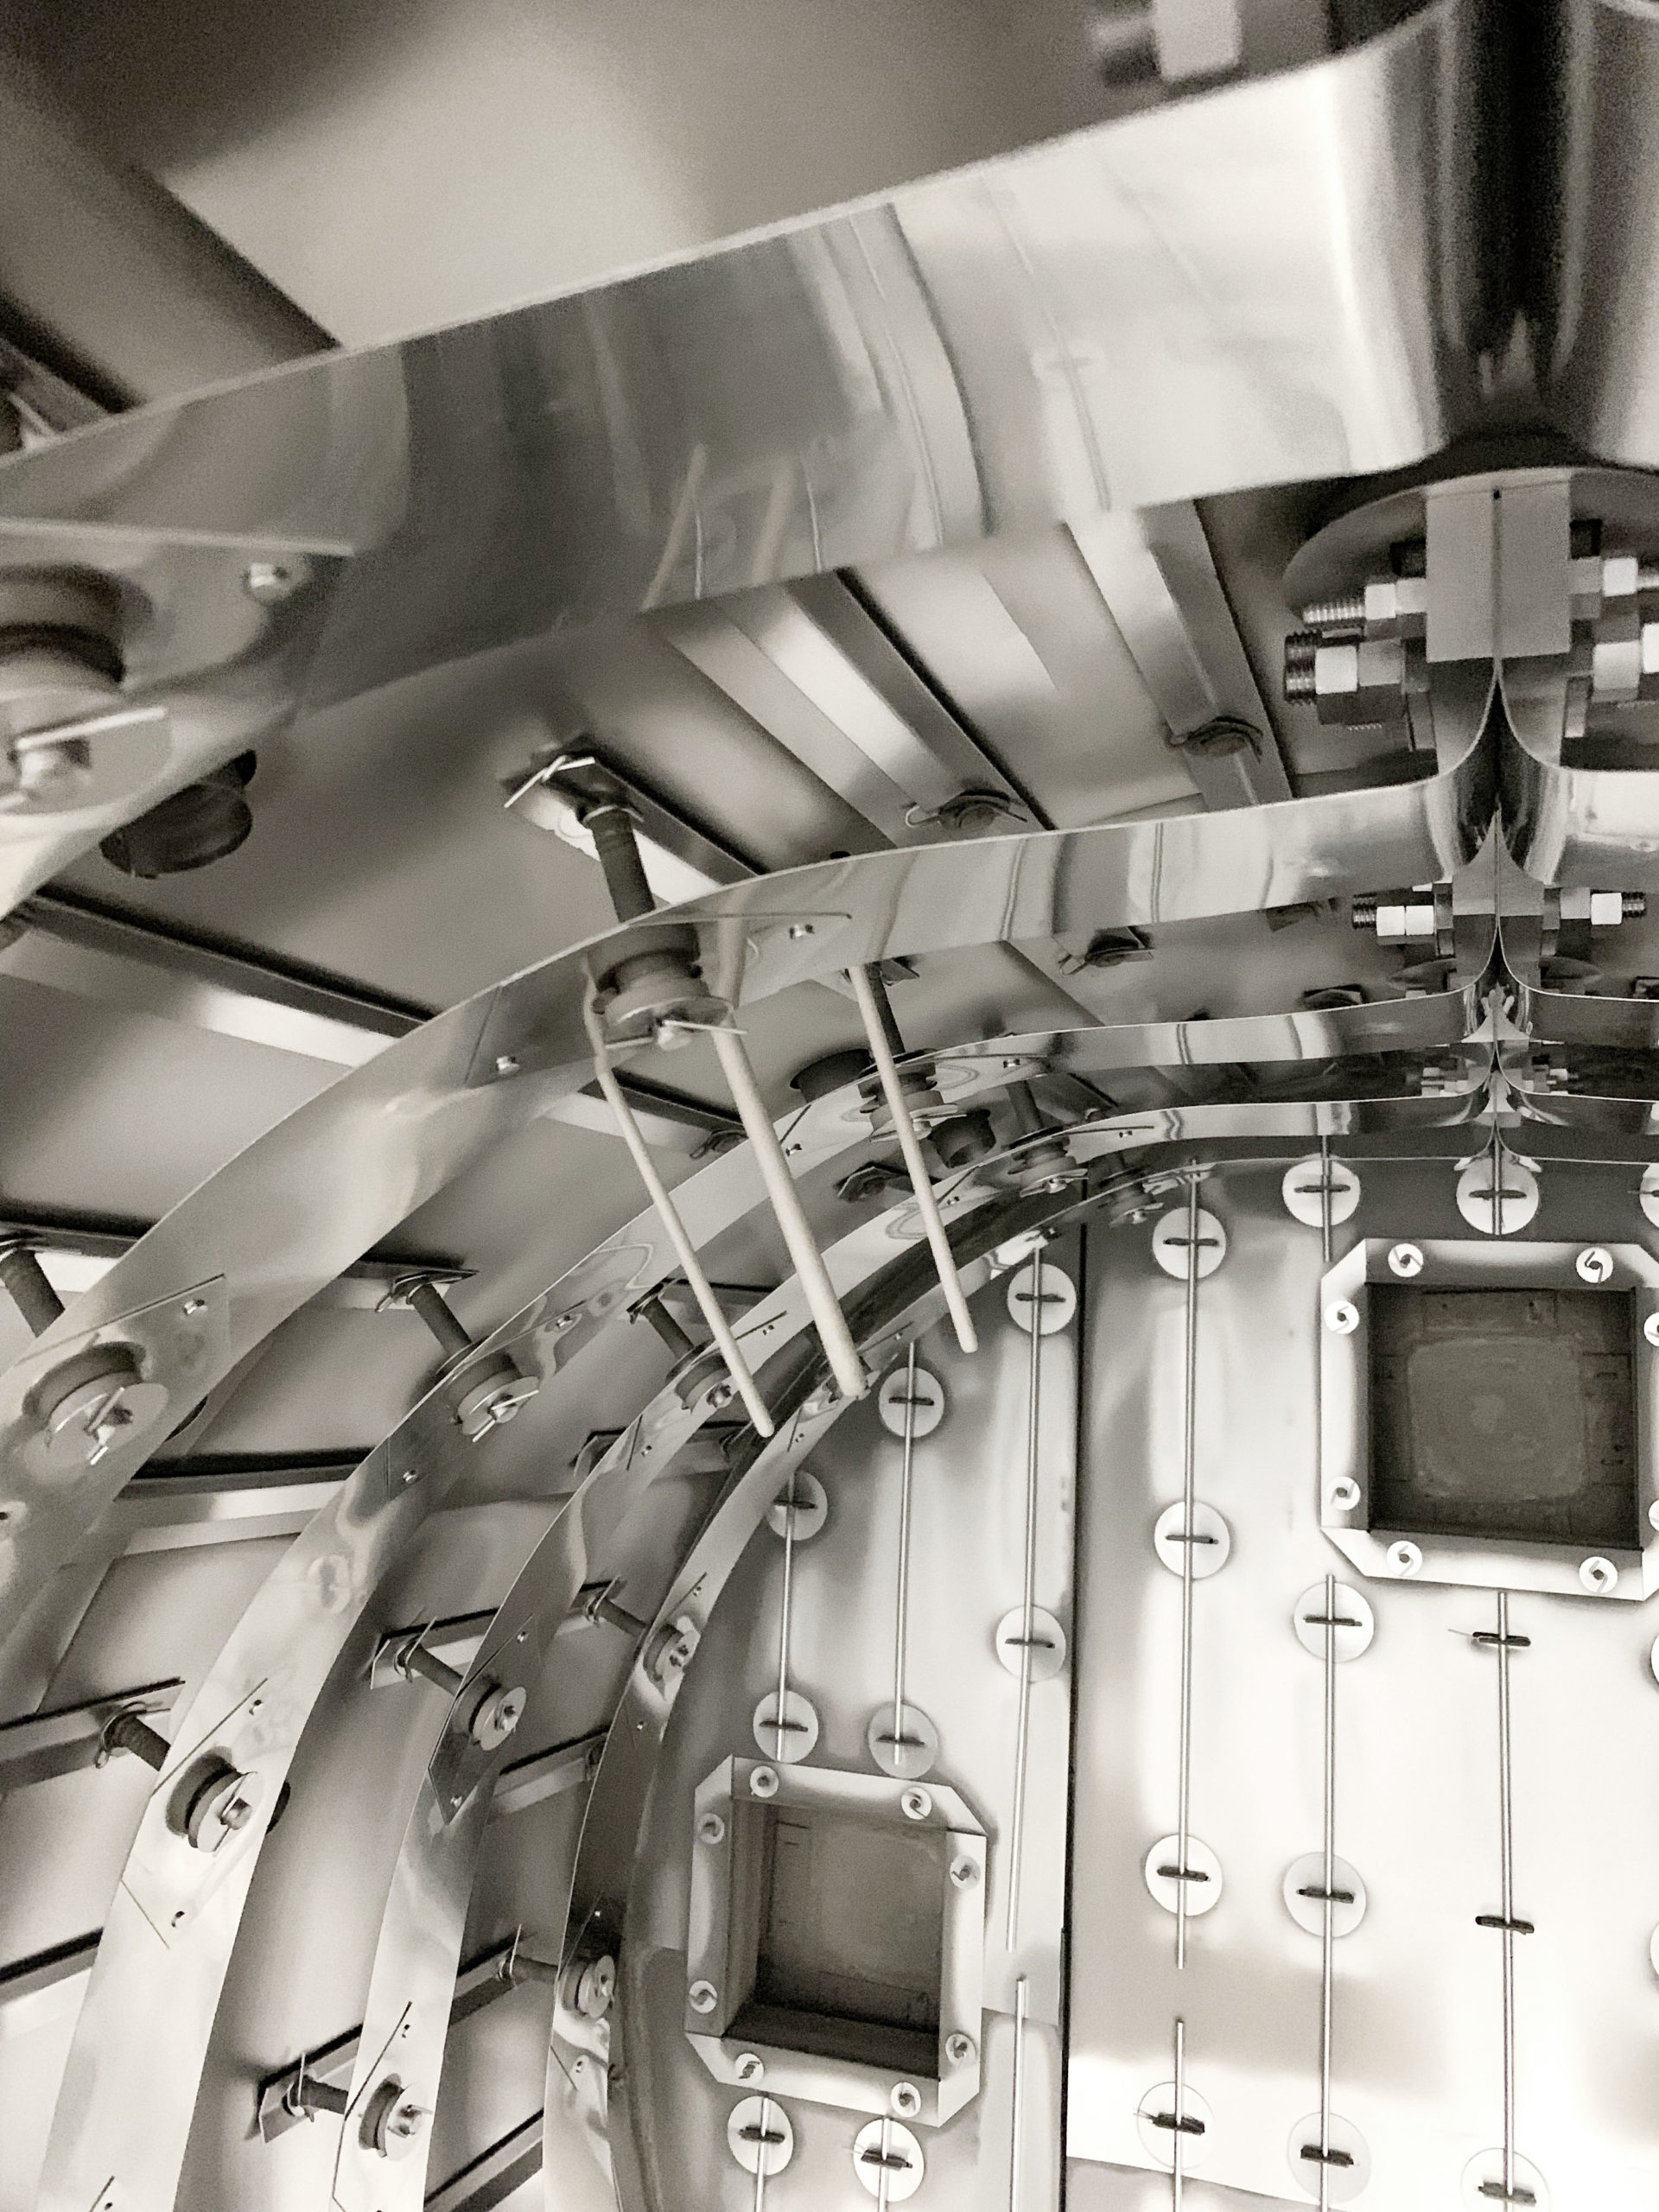
Today’s tips come to us from Solar Manufacturing Inc., covering Vacuum Furnaces. This includes advice about avoiding disasters, improving vacuum furnace operations, how and when to use water, and troubleshooting.
If you have a heat treat-related tip that would benefit your industry colleagues, you can submit your tip(s) to anastasia@heattreattoday.com or editor@heattreattoday.com.
Heat Treat Tip #82
Vacuum Furnace Disaster with High Temperature (2400F) Bake Out
 Thoroughly understand the metallurgical definition of “Eutectic Reactions”. Never high temperature bake-out a vacuum furnace with the grids in it, i.e. 2400°F.
Heat Treat Tip #83
4 Tips to Improve Your Vacuum Furnace Operations
Four Suggestions for Improved Vacuum Furnace Operations
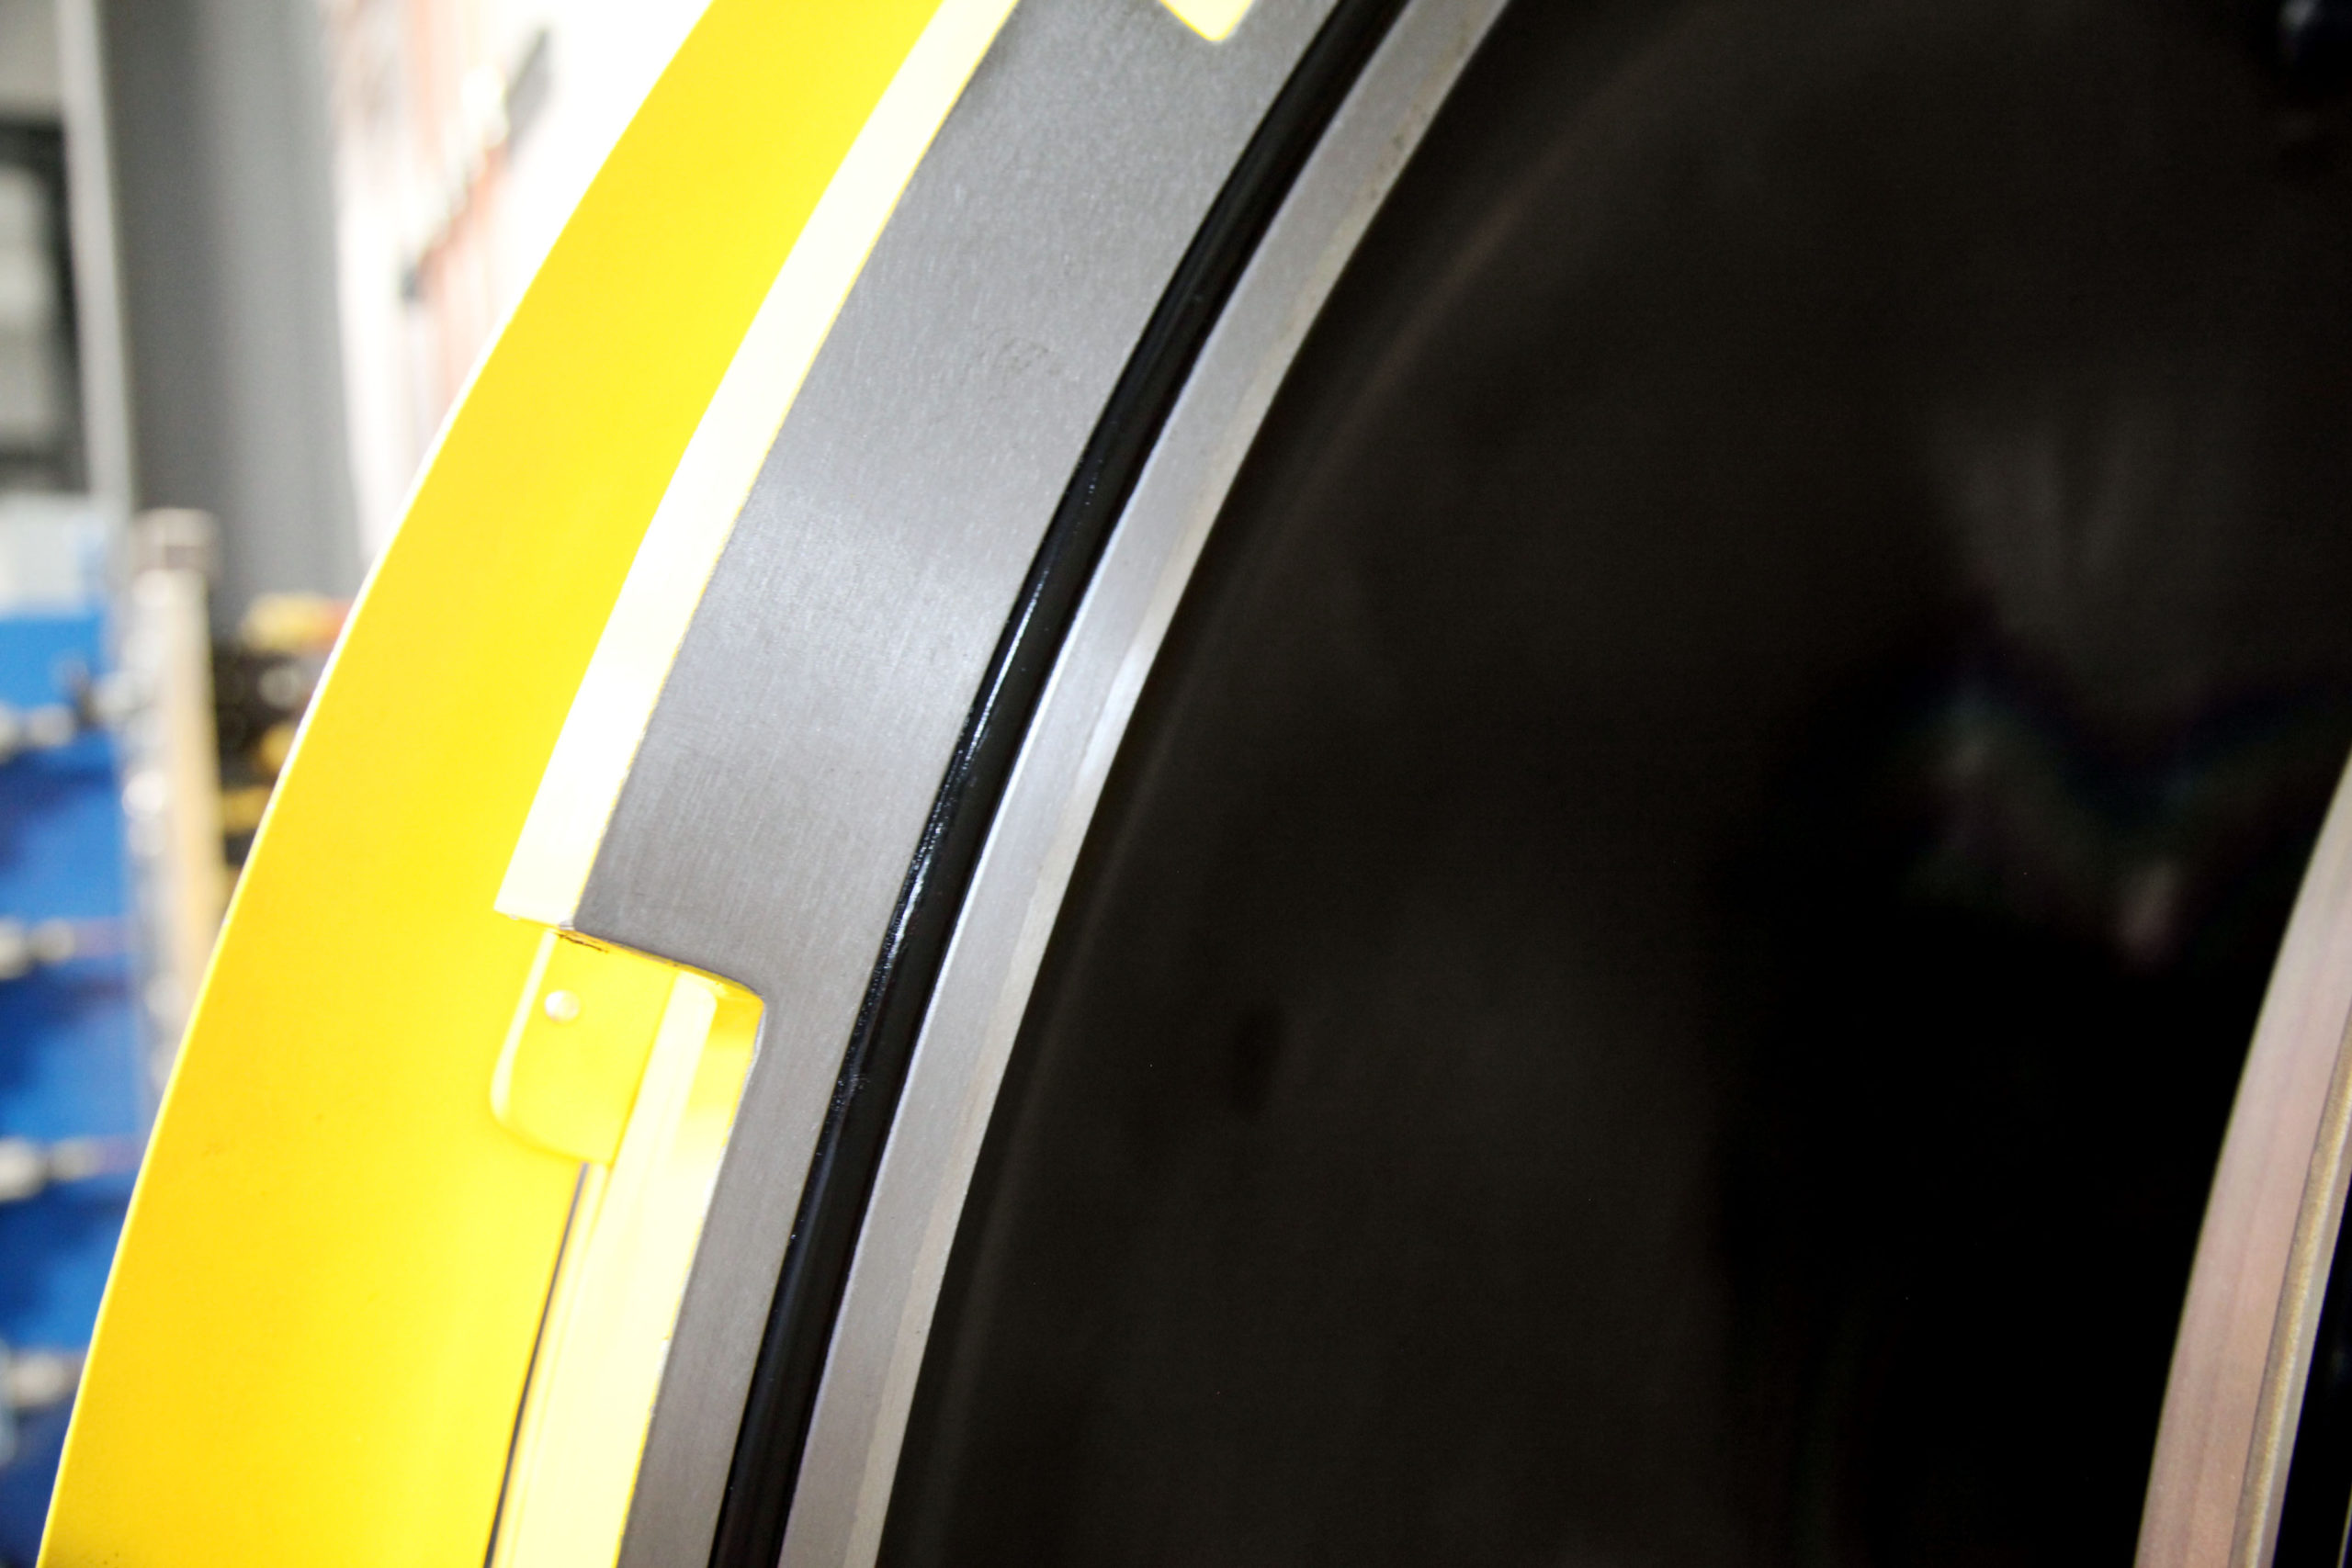
1. When wiping the main door O-ring and flange (which must be done every time BEFORE closing the door, especially after unloading a furnace), wipe with only your bare fingers. You risk a splinter or dirty fingers (so what, you are a heat treater), however, a bare fingertip will detect even minute scratches, nicks, or debris on an O-ring or flange. Wiping with a rag increases the likelihood that you won’t detect those conditions until it is too late. Using your bare fingers is also effective in detecting an O-ring that has become dry and in need of a new application of grease.
2. After installing a new control or overtemperature thermocouple, and especially when using a Buna N-type grommeted feedthrough, tighten the feedthrough nut quite snugly, and then retighten it after the initial pump-down, checking it again after several furnace cycles. Much of the time the grommet becomes compressed and pulled deeper into the assembly, leaving the nut loose. If this occurs, the TC could be sucked deep into the furnace during a cycle, possibly breaking when unloading the workload. Further, even a modest movement of the control thermocouple can affect the TUS results and lead to product impact concerns.

3. If using an older vacuum furnace with a bolted main flange, always make sure to bolt the flange after achieving a vacuum of about -25″HG. If the door is bolted prior to sufficient evacuation, the bolts will become loose as the O-ring compresses during the pump-down portion of the process. Loose bolts could lead to a gas leak during a positive pressure quench or a vacuum leak during operation.

4. During the initial evacuation of a process in a vacuum furnace, let the furnace pump until it gets to a slowly dropping rate prior to introducing partial pressure or turning on the heat. Water vapor is difficult to liberate and it can take some time, especially in a humid environment. Getting as much out as is practical prior to starting a furnace cycle is good practice in the war against discoloration.
Heat Treat Tip #84
When Water Is Your Nemesis!
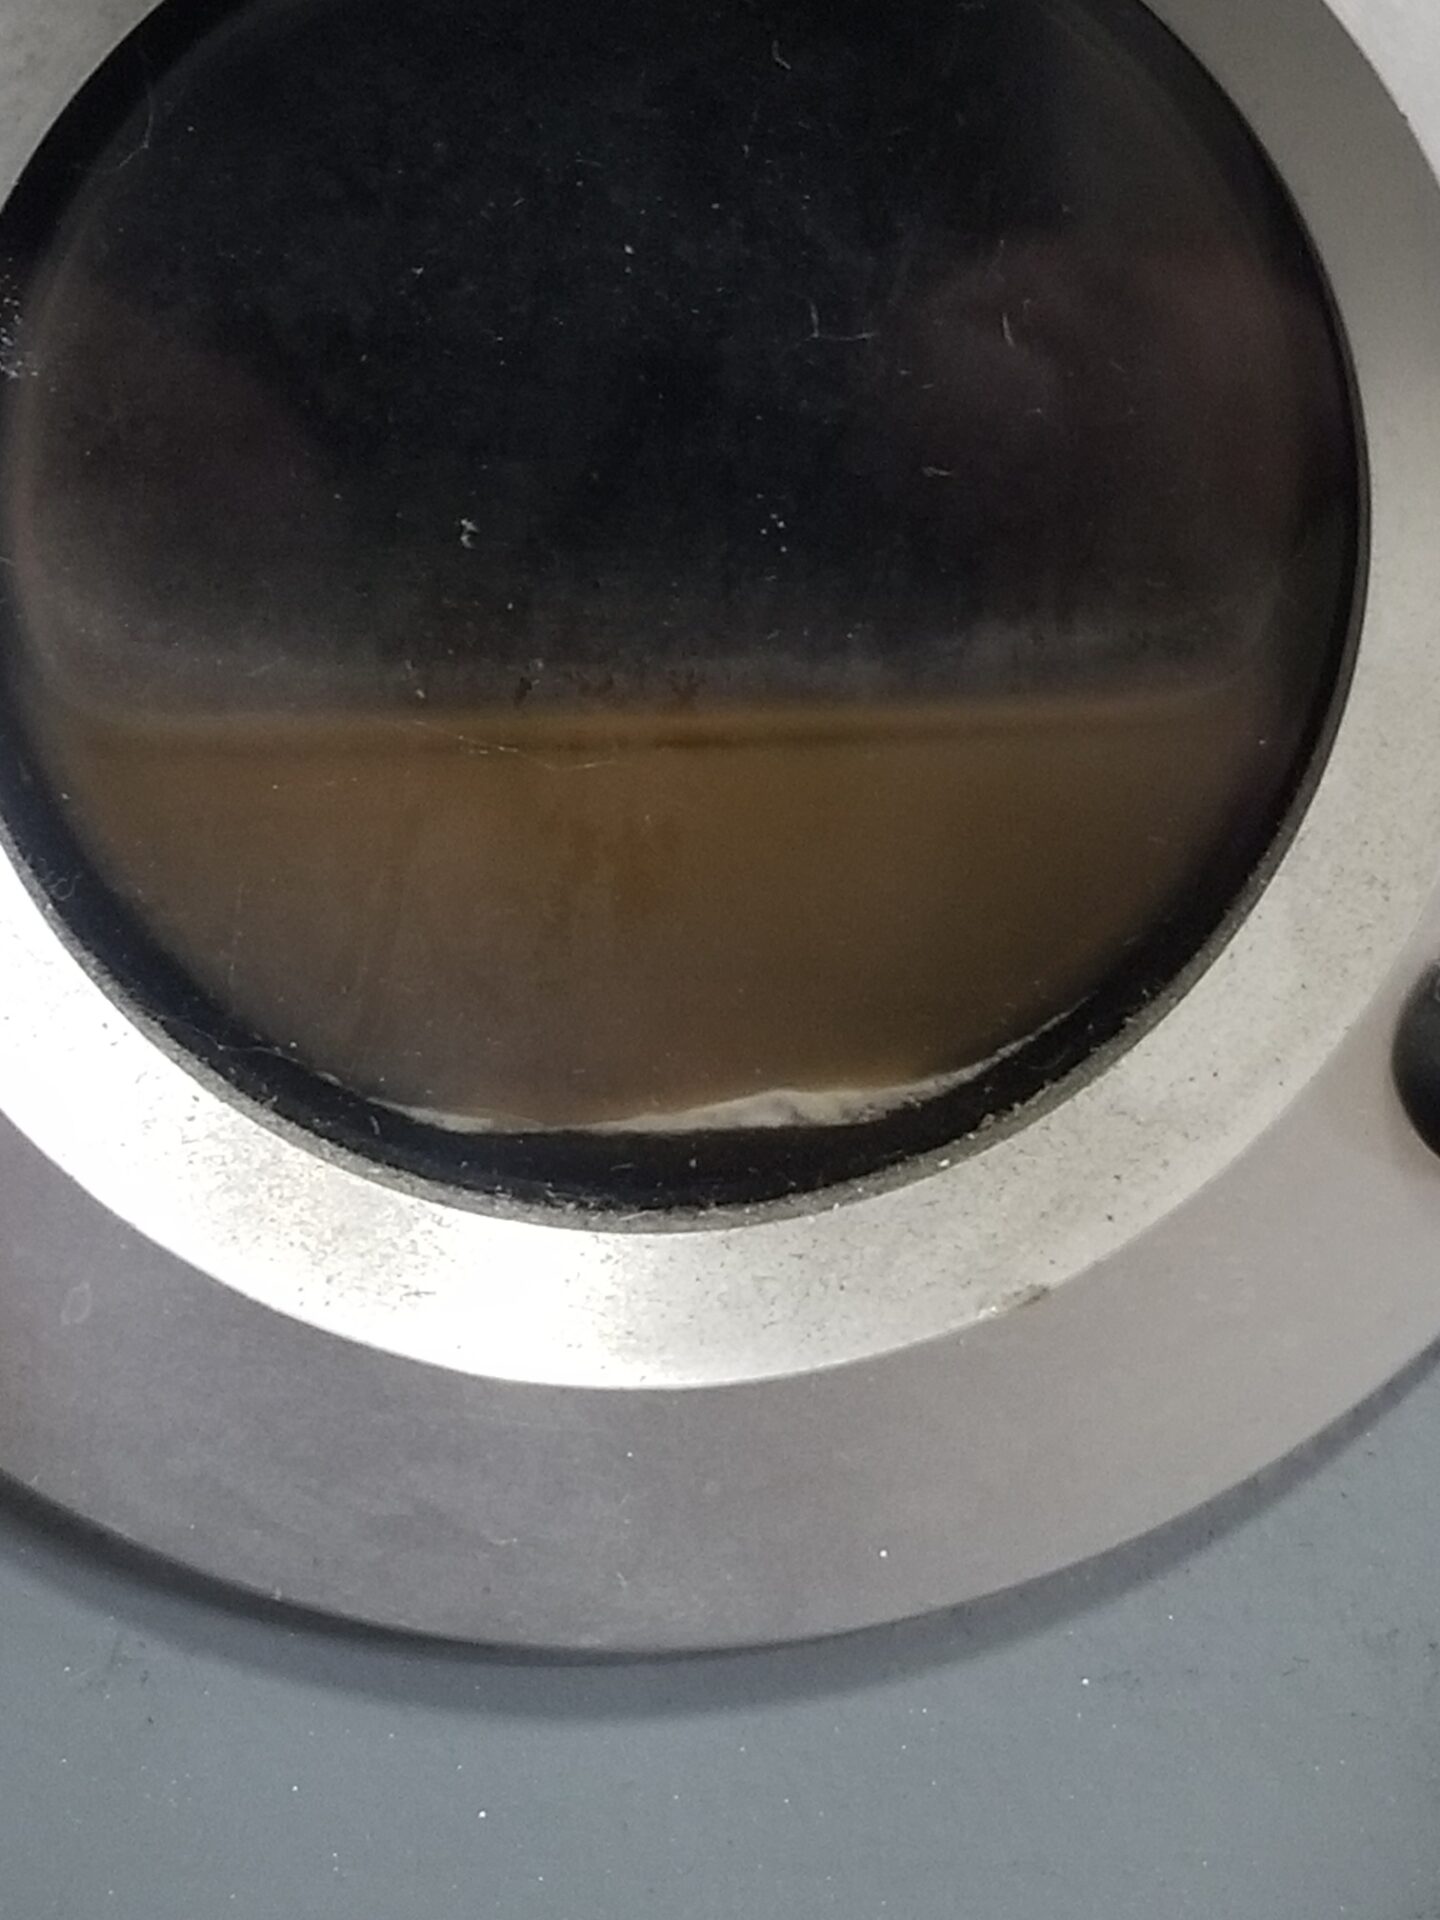
On hot, humid days, moisture collects in the roughing pumps after initial cycle pump down.
• Drain as much water out as possible through the oil drain port of the vacuum pumps, usually about ½ cup of water.
• Crack open slightly, just enough for the water to drain. By cracking the gas ballast valves, this will raise the temperature of the pump and boil the rest of the water vapor off and out through the exhaust piping.
• One thing to remember with the gas ballasts open, the pumping time will be longer. So, don’t forget to close the valves after about 15 minutes.
As soon as the water is removed, only oil will remain.
Heat Treat Tip #85
Cooling Water Type and Chamber Life
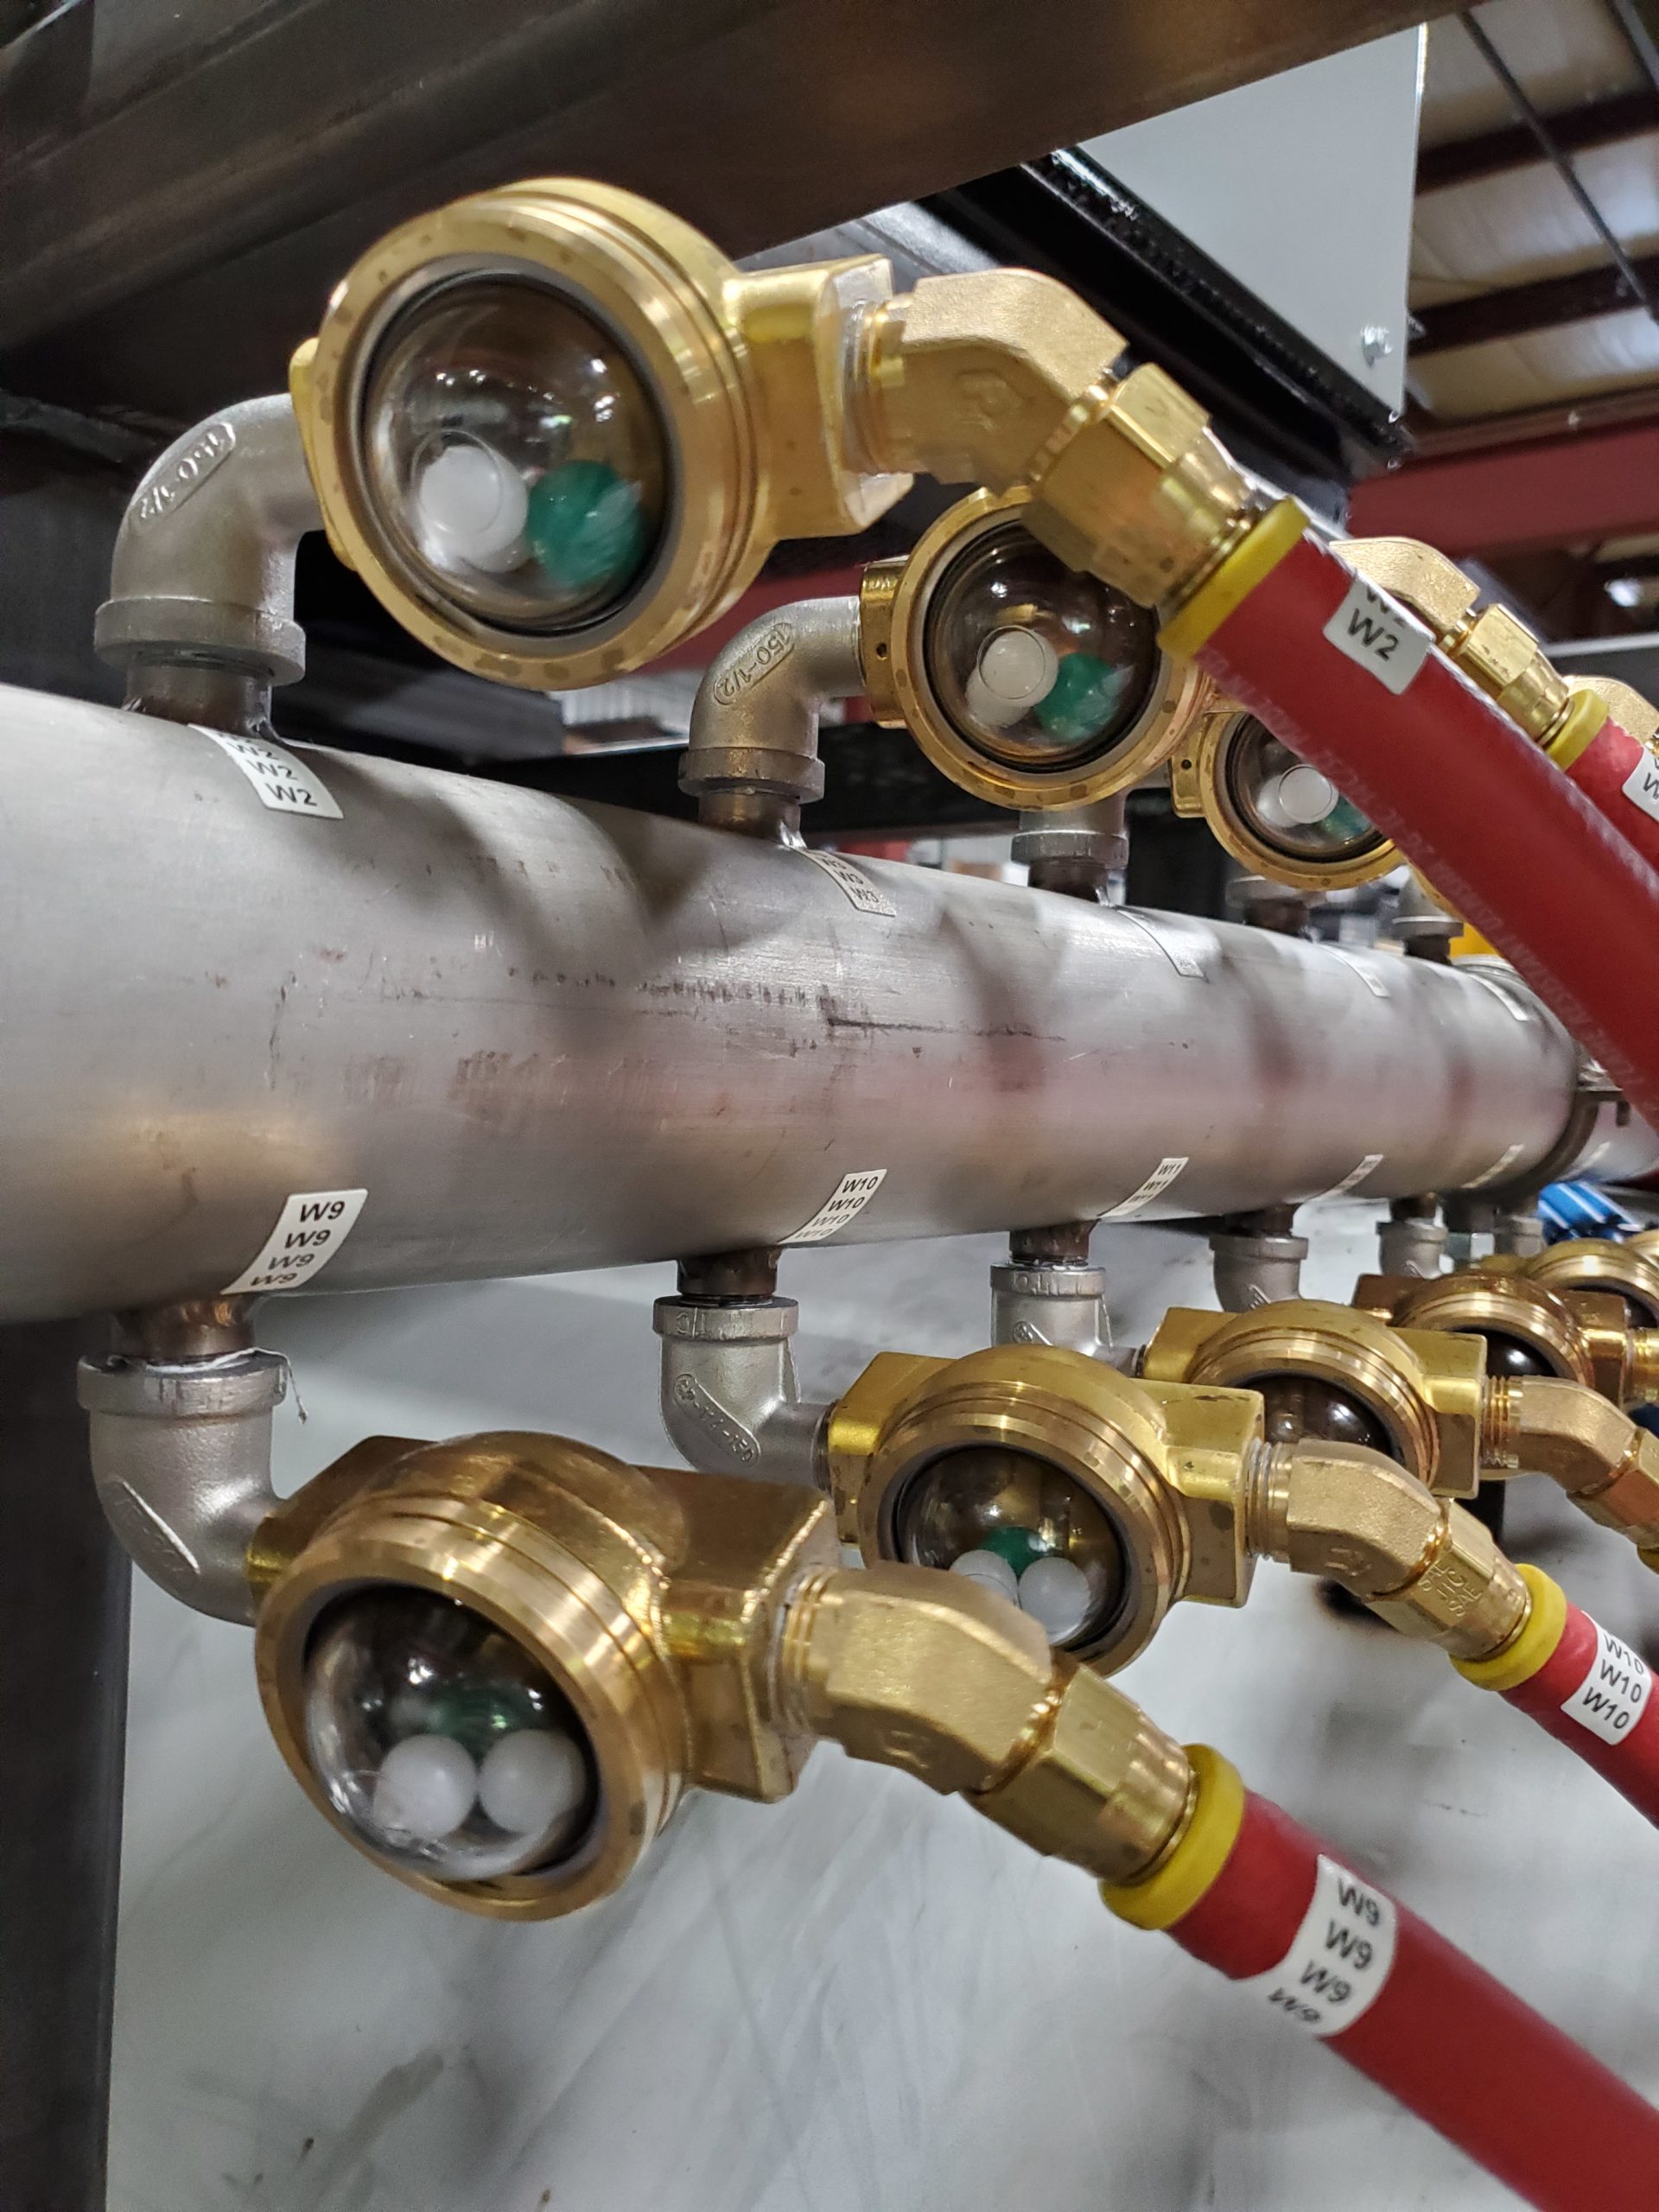
In the vacuum furnace world, the life of the vacuum chamber is very important. Specific care should be taken if the furnace is cooled from a domestic water supply, evaporator cooling tower, or pond water, as these sources are very rich in air and will “rust out” the chamber in less than five years. Therefore cooling water should be provided preferably from a (closed loop) air to water heat exchanger, and the cooling water quality checked monthly to the following chemistry: Water circuit flow indicators should be included to check for water turbidity, low to no particulate, in the cooling water with a site indicator type here noted.
Heat Treat Tip #86
Troubleshooting Furnace Pump Down
If you’re having problems obtaining a vacuum level below the 500 to 50 micron range after furnace pump down, some simple analytics will help pinpoint the potential cause. Ask yourself a few questions: If it is a humid day, how long did the furnace sit open during loading, what is the size of the load in the furnace, and were the parts oily that went in? Any “yes” answers could explain slow pump down. If you rule these out, stop the cycle and watch the coarse vacuum display of the gauge. Does it immediately start going back up by tens or hundreds of microns in a very short time? If it does, you have a large leak. Did the thermocouples get in an area where the door O-ring seals? Has the door O-ring been compromised since the last load? Has some valve been left open slightly? Are any of the gas backfill valves leaking? Was something left in the furnace that shouldn’t be there? If the furnace doesn’t leak back very quickly when you stop the furnace cycle, a contaminated vacuum gauge tube or a poorly performing pumping system could be the cause. Is the booster pump running? Are the diffusion pump heaters on and pulling proper current? By following this simple regimen, you can quickly determine what resources you’ll need to assemble to further troubleshoot the problem and get that load going.