This Technical Tuesday installment is part of the Maintenance Message column series. In today’s edition Nate Sroka, quality assurance engineer for Ipsen, provides a complete maintenance guide to rebricking and relining atmospheric furnaces. Keep this one bookmarked for a quick reference to components, the rebricking process, expectations, and project timeline questions!
This informative piece was first released in Heat Treat Today’s August 2025 Automotive Heat Treating print edition.
Introduction
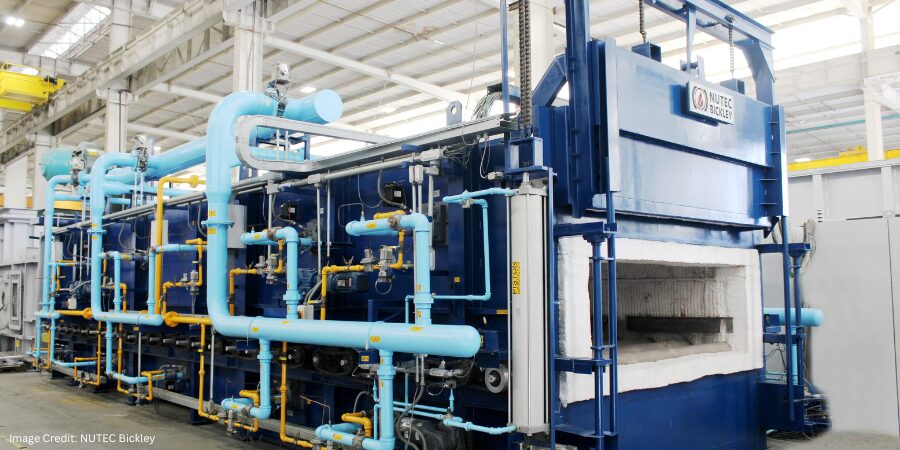
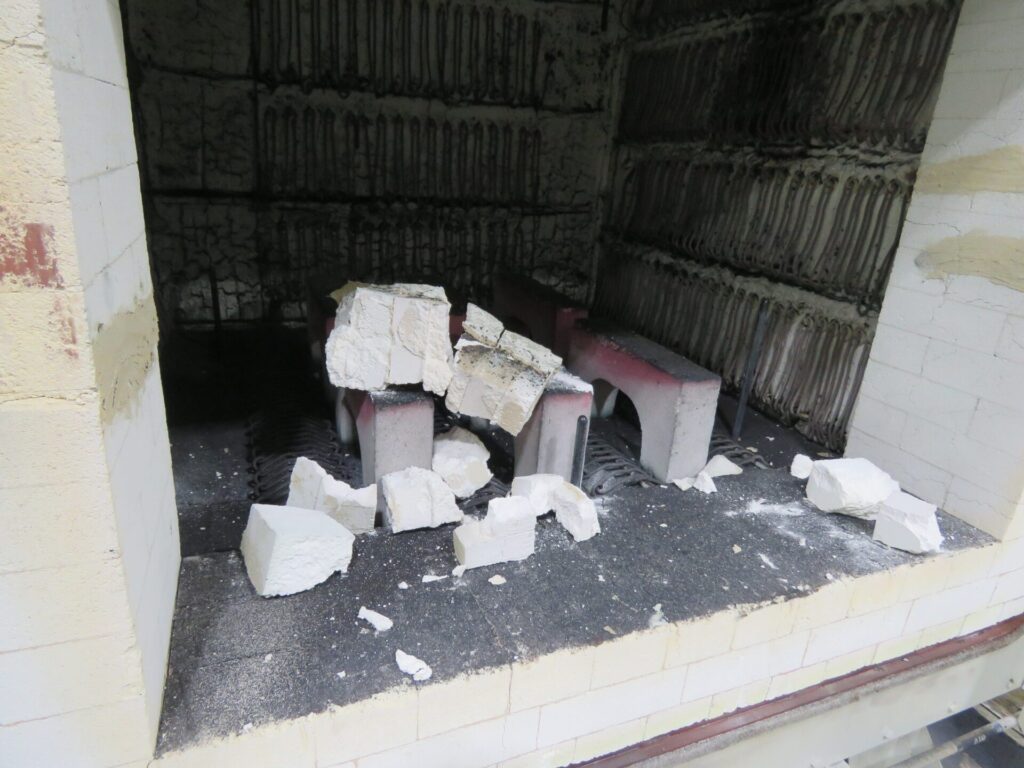
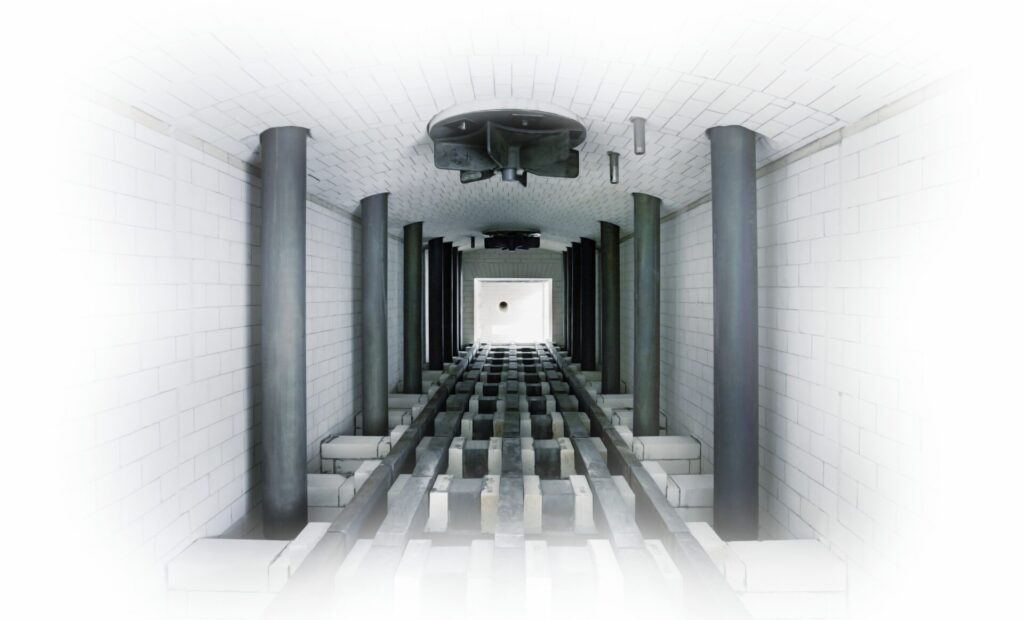
The interior brick walls of an atmosphere furnace endure extreme temperatures — sometimes reaching 2200°F — every hour of every day. Over time, the bricks become brittle, crack, and experience thermal expansion, which can open seams in the mortar.
After years of continuous operation, users may notice exterior walls becoming hot enough to melt insulated cables or components attached to the furnace. When bricks start falling out of place or insulation begins to sag, it’s time to shut down the furnace, assess damage, and plan for repairs. Typically, furnaces operating for five to ten years since installation or their last major overhaul require rebricking or relining.
Understanding the Components: Bricks and Boards
Knowing the key components used in the rebricking and relining process prepares you for discussions about repairs.
Insulated Fire Bricks (IFB) come in various temperature ratings. A 2300°F brick is less efficient and durable under extreme heat than a 2600°F brick but is often more cost-effective. High-rated bricks typically line the interior, while lower-rated bricks provide an additional insulation layer.
Insulating boards made from calcium silicate form the thermal barrier between the heating chamber and external components. They can withstand temperatures from 1000°F to 1800°F and are commonly used in lower-temperature furnaces.
Mineral wool is a fibrous insulating material used to fill gaps around furnace entry points and seams. Made from volcanic rock, ceramic, or slag, it allows for expansion and contraction due to temperature changes.
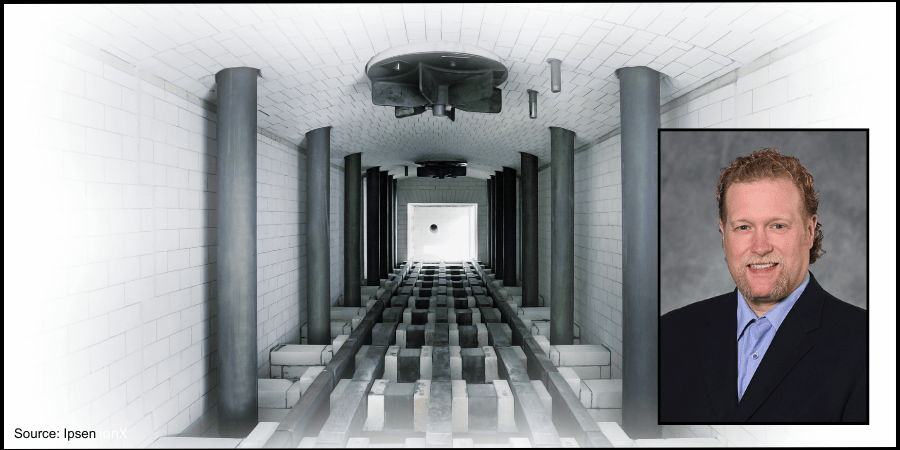
One key thing to know about atmosphere furnaces is that they are almost always “on.” In a vacuum furnace, recipes use electric elements that shut off after every cycle, and quenching often happens within the same chamber. However, in an atmosphere furnace, turning off the burners and then restarting the furnace from room temperature the next day is much less energy efficient than running the burners and holding a consistent temperature, even when the furnace is empty. Parts from an atmosphere furnace are typically quenched in an oil or salt bath, separate from the heating chamber.
Source: Ipsen
Starting the Rebricking Process: What You Need to Know
Prepare for a Quote
First, review the pre-quote checklist to make sure you have the right information to get an accurate quote.
Pre-Quote Checklist: Important information to have on hand when getting a quote for rebricking or relining your atmosphere furnace
- Furnace model number and serial number
- Heating chamber dimensions (w/d/h)
- Archway dimensions from base to top
- Door dimensions and condition
- Drawings or engineering plans outlining any aftermarket modifications
- Typical operating temperatures
- Any additional materials installed to prevent heat penetration
- Photos from as many angles of the furnace as possible
- A list of any consumable or heavy-wear components that also need to be replaced
Build a Timeline
Start collecting quotes at least a year in advance and place a purchase order no less than six months before the planned shutdown.
Consider Scheduling Factors
Many furnace operators are looking to have work like this completed during a summer or winter holiday shutdown period. Advanced planning improves scheduling flexibility.
Site Preparations
Before the service team arrives, ensure the workspace is ready:
- Clear space for staging new materials and removing old bricks.
- Provide access to a forklift, a durable waste collection container, a dumpster, and other required tools and resources.
- Confirm power connections near the site for welding and other power tools.
- Review lockout/tagout procedures with maintenance and operations teams.
- Determine the required furnace cool-down time before disassembly and plan furnace shutdown accordingly.
- Identify and disconnect any electrical, process gas, or water-cooling lines as outlined prior to service.
Rebricking Day: What You Should Expect
During disassembly, consider performing additional maintenance, such as:
- Inspecting and rotating or replacing burner tubes
- Inspecting and replacing pusher chains and skid hearth section
- Checking doors, door hoods, and fan bungs
- Conducting leak tests and changing the quench oil
Coordinate these tasks with the service team to avoid disruptions. The rebricking process spans several days, allowing time for concurrent inspections and repairs.
Final Inspection and Testing
Upon project completion:
Source: Ipsen
- Inspect the furnace with the installation team to ensure all work aligns with project specifications.
- Document any changes as a reference for future maintenance.
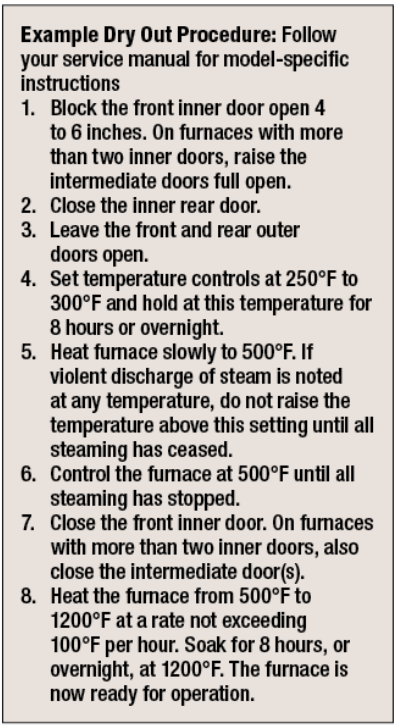
- Perform a “dry out” procedure and clean the quench tank before refilling the tank. See “Example Dry Out Procedure” break-out box.
- Run the furnace without parts to test for temperature uniformity.
- Carburizing furnaces may need extra burn-in time to “season” the bricks:
- Fresh bricks absorb free carbon until fully saturated.
- When bricks are properly saturated, furnace atmospheres stabilize.
- Time of burn-in is dependent on the percentage of carbon-level the system needs to achieve.
- Identify potential hot or cold spots that may require further insulation adjustments.
Post-Installation Best Practices
A rebrick or reline of a furnace is a significant investment. To get the most from your furnace, make the time to take a proactive approach:
- Establish a daily maintenance inspection for the first week, followed by weekly checks for the first month.
- Resume regular maintenance schedules if no issues arise.
- Schedule independent inspections with a field service engineer at three, five, seven, and nine years to proactively assess furnace condition and secure preferred maintenance dates.
By following these steps, atmosphere furnace operators can maximize uptime, streamline service quoting, optimize downtime usage, and ensure efficient future rebuilds.
This article was originally published on ipsenusa.com.
About The Author:

Quality Assurance Engineer
Ipsen
Nate Sroka has been with Ipsen since March 2014. He holds a bachelor’s degree in mechanical engineering and a master’s degree in engineering and industrial management from Northern Illinois University. Nate oversees the Quality/Documentation/Warranty (QDW) department, ensuring that Ipsen maintains ISO 9001 and ISO/IEC 17025 standards. He is also responsible for documentation related to installation and operations manuals, regulatory certificates, and managing warranty programs.
For more information: Contact Nate Sroka at nate.sroka@ipsenusa.com.